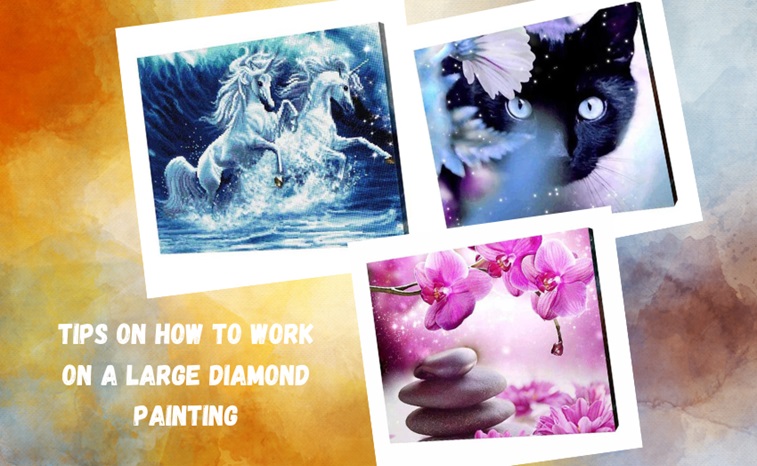
10 Tips on How to Work on a Large Diamond Painting
Diamond painting is a highly enjoyable and creative hobby that involves placing tiny resin beads on a canvas to create stunning works of art. While small diamond paintings can be a breeze to complete, working on a large diamond painting can be a bit more challenging.
What is Diamond Painting?
Diamond painting is an emerging art form that combines the relaxation of painting with the precision of mosaic work. In this craft, tiny diamond-like beads are glued in a predetermined pattern onto a canvas to create a shimmering, multi-faceted masterpiece. It is a great way to stay creative and achieve something beautiful in the downtime.
In this article, we will share 10 tips to help you effectively work on a large diamond painting and achieve beautiful results.
Tip 1: Choose the Right Diamond Painting Kit
Start by selecting the right diamond painting kit for your project. Large diamond paintings require larger canvas sizes, so ensure that the kit you choose is suited for your desired dimensions.
Tip 2: Organize Your Supplies
Before you begin, organize your diamond painting supplies. Use containers, trays, or a diamond painting accessories kit to sort and store your diamonds by color. This will make it much easier to locate the beads you need while working on your large diamond painting.
Tip 3: Set Up a Comfortable Work Area
When working on a large diamond painting, it’s important to have a comfortable and well-lit workspace. Make sure you have enough room to spread out your canvas without any obstructions, and consider using a light table or lamp to improve visibility.
Tip 4: Start From the Top
When beginning your large diamond painting, always start from the top of the canvas and work your way down. This will prevent any accidental smudging or smearing of the diamonds as you progress.
Tip 5: Work in Sections
Large diamond paintings can feel overwhelming, so it’s best to break them down into manageable sections. Work on one section at a time, completing all the diamonds within that area before moving on to the next.
Tip 6: Use a Roller or Brayer
A helpful tip for working on large diamond paintings is to use a roller or brayer to apply pressure evenly across the canvas. This will ensure that all the diamonds are firmly stuck to the adhesive, resulting in a smooth and professional-looking finish.
Tip 7: Store Your Diamonds Securely
To avoid losing any diamonds while working on your large diamond painting, consider using a diamond painting accessories kit with secure containers. This way, you can keep your diamonds organized and safely stored when not in use.
Tip 8: Take Breaks to Avoid Eye Strain
Working on a large diamond painting for long periods can strain your eyes. Remember to take regular breaks and give your eyes a rest. This will help prevent eye fatigue and reduce the risk of making mistakes.
Tip 9: Use a Multi-Placer Tool
To speed up the process and enhance accuracy, invest in a multi-placer tool. This tool allows you to pick up and place multiple diamonds at once, saving time and making the task more efficient when working on a large diamond painting.
Tip 10: Enjoy the Process
Lastly, remember to enjoy the process of working on a large diamond painting. It’s not only about the final result but also about the journey. Allow yourself to relax and have fun as you create a beautiful piece of art.
Know How it Works
The process begins with a canvas that has a printed pattern adhered to it. The pattern corresponds to a color-coded chart which guides the user through the placement of each unique diamond. Each color is represented on the chart with a symbol, which is used to match the colors to the diamonds.
The diamond beads themselves come in a variety of colors and give the finished craft its signature shimmer. In most kits, there is additional sparkle to be had from the metallic diamonds, which add additional depth and texture.
Once the user has their canvas, diamond beads, tools, and chart, they are ready to start creating their masterpiece. The tools provided in most kits are generally pretty simple. It includes a tray with individual compartments to separate different beads, a small wax pad to help in picking up the diamonds, and tweezers to help pick up the small beads.
Users start by opening up the glue strip that protects the adhesive surface of the canvas. This allows them to start placing diamonds in the correct sequence. Starting in the top corner of the canvas, they work their way along following the color-coded chart until they have finished their mosaic.
The canvas’s larger size can be overwhelming, but users are recommended to work in small sections by carefully folding the canvas and working on one section at a time. This technique makes the process more manageable and allows the user to not be overwhelmed.
The final step in completing the painting is to flatten it under heavy books to ensure that all of the diamonds remain securely glued to their surface. Then the user can frame the painting in their desired frame or find other creative ways to display it proudly.
Conclusion
Working on a large diamond painting can be an exciting and rewarding experience. By following these 10 tips, you can effectively tackle your project and create a stunning piece of art. Take your time, stay organized, and enjoy the process. With patience and perseverance, you’ll be amazed at the masterpiece you can create with a large diamond painting.