Exploring Free Platforms and Tools for Newbies to Get Started
Are you ready to unleash your inner writer and dive into the world of blogging? Whether you’re a passionate storyteller, an aspiring influencer, or simply looking for a creative outlet, starting a blog can be an exhilarating journey. The best part? You don’t need any prior experience or technical know-how to get started! In this blog post, we will guide you through the exciting process of going from zero to blogger by exploring free platforms and tools that are perfect for newbies like yourself. Get ready to unleash your creativity and embark on an adventure that will not only empower you but also captivate readers from around the globe!
Introduction: Why Start a Blog?
Blogging has become an increasingly popular way for individuals to share their thoughts, ideas, and experiences with the world. In today’s digital age, starting a blog has never been easier or more accessible. Whether you are looking to express yourself creatively, establish yourself as an authority in your niche, or even make some money online, blogging can be a valuable tool.
-
Share Your Passion
One of the main reasons people start blogs is to share their passion with others. Are you passionate about food? Travel? Fitness? Whatever it may be, blogging allows you to connect with like-minded individuals who share your interests. It gives you a platform to showcase your knowledge and expertise while also learning from others in your community.
-
Establish Yourself as an Authority
In today’s fast-paced society, having credibility is crucial for success. A blog is an excellent way to establish yourself as an expert in your field or niche. By consistently creating high-quality content that resonates with your audience and provides value, you can position yourself as a go-to source for information on particular topics.
-
Improve Your Writing Skills
Blogging requires consistent writing; therefore, it is an excellent way to improve your writing skills over time continually.
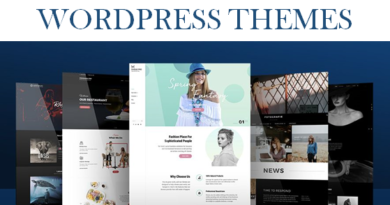
Choosing the Right Platform: Pros and Cons of Free Blogging Platforms
Choosing the right platform is a crucial step in starting your blogging journey. With so many free blogging platforms available, how to start a blog for free for beginners can be overwhelming to decide which one is the best fit for you. In this section, we will discuss the pros and cons of free blogging platforms to help you make an informed decision.
Pros of Free Blogging Platforms:
- Cost-effective: As the name suggests, free blogging platforms allow you to create and publish content without any upfront cost. This is ideal for beginners who are just starting and do not want to invest money in a paid platform.
- Easy setup: Most free blogging platforms have a user-friendly interface that makes it easy for anyone to set up their blog without any technical knowledge. This saves time and eliminates the need for hiring a web developer.
- No coding skills required: Unlike self-hosted blogs where coding knowledge is necessary, free blogging platforms come with pre-designed templates and drag-and-drop editors that require no coding skills.
- Wide range of features: Free blogging platforms offer a variety of features such as customizable themes, social media integration, analytics tools, and more to enhance your blog’s functionality.
- Built-in community: Many free blogging platforms have built-in communities where bloggers can connect with each other, share ideas, and collaborate on projects. This can be beneficial for new bloggers looking to expand their network.
Getting Started with Blogger: Step-by-Step Guide
Blogging has become an increasingly popular way for individuals to share their thoughts, ideas, and expertise with the world. With the rise of free platforms and tools, it has never been easier for beginners to start their own blog. One of the most popular blogging platforms is Blogger – a free service offered by Google that allows users to create and manage their own blog without any technical knowledge or coding skills.
If you’re new to blogging and want to get started with Blogger, this step-by-step guide will walk you through everything you need to know.
Step 1: Create a Google Account
To use Blogger, you will need a Google account. If you already have one, then you can skip this step. If not, simply go to accounts.google.com/signup and follow the prompts to create your account. Make sure to choose an email address that is professional and easy for your audience to remember.
Step 2: Accessing Blogger
Once your Google account is set up, go to www.blogger.com and click on “Create Your Blog.” You will be prompted to sign in with your Google account if you haven’t already. This will take you directly into the Blogger dashboard.
Step 3: Choose a Name for Your Blog
The first thing you need to do is choose a name for your blog. This should be something that reflects the content or niche of your blog.
Setting up your account and blog name
Setting up an account and a unique blog name is the first step towards becoming a blogger. It may seem like a daunting task, especially for beginners, but with the right guidance and tools, it can be done seamlessly. In this section, we will discuss the steps to set up your account and choose a suitable blog name.
-
Choose the Right Platform:
The first step in setting up your blogging journey is to select the right platform. There are several free blogging platforms available such as WordPress.com, Blogger, Wix, Weebly, etc. Each of these platforms has its own features and limitations, so it’s essential to research and choose one that suits your needs and goals.
-
Create an Account:
After selecting a platform, you need to create an account by providing basic information like email address, username, and password. Some platforms may require additional verification steps such as phone number or email confirmation.
-
Customize Your Profile:
Once you have created an account on your chosen platform, it’s time to customize your profile. This includes adding a profile picture/avatar and writing a short bio about yourself or your blog’s niche. Personalizing your profile will make it more appealing to readers and also help you establish your brand identity.
-
Choose Your Blog Name:
Now comes the exciting part – choosing a unique name for your blog! Your blog name should reflect your niche or what you plan to write about. It should be easy to remember and spell out loud.
Customizing your blog’s layout and design
Customizing your blog’s layout and design is an important aspect of creating a successful blog. Not only does it help attract readers, but it also reflects your personal brand and style. As a new blogger, you may feel overwhelmed with all the customization options available. However, with some guidance and tips, you can easily create a unique and visually appealing blog that will keep your audience engaged.
-
Choose a user-friendly platform:
The first step in customizing your blog’s layout and design is to choose a platform that offers easy customization options. There are many free blogging platforms available such as WordPress, Blogger, Wix, and Weebly.
-
Select a template or theme:
Once you have chosen a platform, the next step is to select a template or theme for your blog. Most platforms offer both free and premium options for templates/themes. It’s best to start with the free options as they provide enough customization features for beginners.
-
Personalize your header:
Your header is one of the first things visitors see when they land on your blog. Therefore, it’s essential to make it stand out by personalizing it according to your brand or niche. You can add images, change font styles and colors to make it more eye-catching.
-
Use high-quality images:
Visuals play a crucial role in attracting readers’ attention and keeping them engaged on your blog.
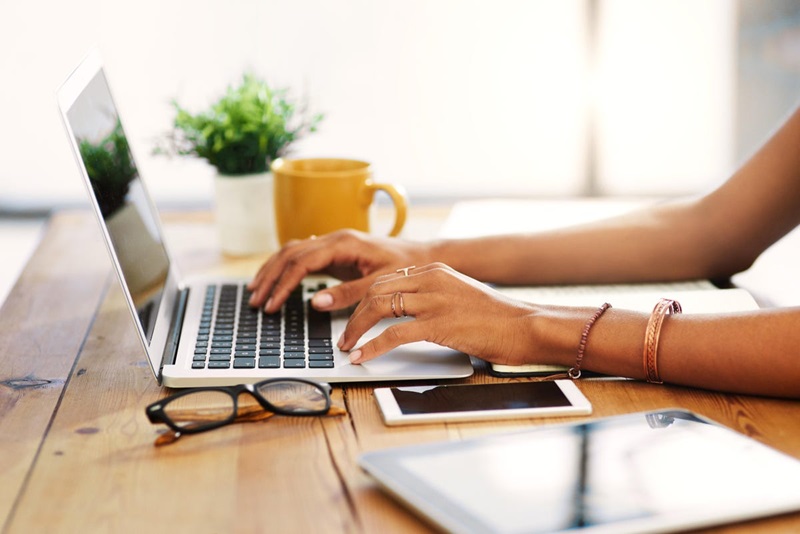
Creating your first blog post
Creating your first blog post can be an exciting and nerve-wracking experience for new bloggers. It’s the first step towards sharing your thoughts and ideas with the world, and it’s important to make a good impression. In this section, we’ll guide you through the process of creating your first blog post using free platforms and tools.
-
Choosing a Topic:
The first step in creating a blog post is deciding what you want to write about. As a new blogger, it is best to choose a topic that you are passionate about or have expertise in. This will not only help you produce quality content but also keep you motivated to continue blogging.
-
Writing Your Post:
Once you have chosen your topic, it’s time to start writing your post! Most free blogging platforms provide easy-to-use editors that allow you to format your text, add images, and include links. Write an attention-grabbing headline and introduction to hook readers in, followed by well-organized body paragraphs that support your main idea.
-
Using Visuals:
Adding visuals such as images, videos or infographics can make your blog posts more appealing and engaging for readers. Free tools like Canva or PicMonkey are great options for creating stunning visuals without any design skills.
-
Optimizing for SEO:
Search Engine Optimization (SEO) is crucial for getting traffic to your blog posts. Make sure to use relevant keywords throughout your post, optimize title tags and meta descriptions, and include alt-text for images.
Exploring WordPress.com: A Beginner’s Guide to Setting Up Your Blog
WordPress.com is a popular and user-friendly platform for bloggers of all levels. It offers a variety of features and customization options, making it the perfect choice for beginners who want to set up their own blog.
Creating an Account
To begin with, you will need to create an account on WordPress.com. This can be done by visiting their website and clicking on the “Get Started” button. You will then be prompted to enter your email address, username, and password.
Choosing a Theme
One of the best things about WordPress.com is that it offers a wide range of free themes for you to choose from. These themes determine the overall design and layout of your blog, so it’s important to select one that fits your style and niche.
Customizing Your Site
Once you have chosen a theme, it’s time to customize your site according to your liking. Click on “Customize” under Appearance in your dashboard menu. This will take you to the Custom
Creating an account and choosing a domain name
Creating an account and choosing a domain name is the first step towards establishing your online presence as a blogger. It is important to take the time to carefully consider these aspects, as they will play a crucial role in defining your brand and attracting readers.
-
Choosing a Platform:
The first decision you need to make is which platform to use for your blog. There are numerous free blogging platforms available such as WordPress, Blogger, Wix, Weebly, etc. Each platform has its own set of pros and cons, so it’s important to research and understand their features before making a decision.
-
Setting up an Account:
Once you have chosen your preferred platform, it’s time to set up an account. The process is usually straightforward – you’ll need to provide basic information like your name, email address, and password. Some platforms may ask for additional information such as your niche or interests in order to personalize their services for you.
Understanding the WordPress dashboard and features
The WordPress dashboard is the control center for your blog, where you can manage and customize every aspect of your website. It may seem overwhelming at first, but once you understand its features, you’ll find it easy to navigate and use.
Let’s take a closer look at the various elements of the WordPress dashboard:
- Dashboard Home: This is the default screen that appears when you log into your WordPress account. It gives you an overview of your site’s activity, including recent posts, comments, and updates.
- Posts: The “Posts” section is where all your blog posts are managed. You can create new posts, edit existing ones, and categorize them for easier organization.
- Media: Here, you can upload images and other media files to use in your blog posts or pages. You can also manage these files by deleting or organizing them into folders.
- Pages: Unlike posts which appear in reverse chronological order on your blog’s homepage, “Pages” are static web pages that provide information about yourself or your blog that doesn’t change frequently (e.g., About page).
- Comments: This section allows you to moderate comments on your blog posts before they get published publicly.
- Appearance: Under this tab, you have access to themes (templates) to change the design of your website and widgets (small add-ons) that enhance functionality like displaying social media feeds or recent posts.