How To Master Sewing Alterations For Beginners
Ever bought the perfect dress only to find the hem drags along the floor? Or perhaps you’ve scored a bargain pair of trousers that fit everywhere except the waist? Maybe you’ve inherited a gorgeous jacket that’s just a touch too big in the shoulders? If any of these scenarios sound familiar, you’re definitely not alone.
Learning sewing alterations is genuinely one of the most practical skills you can pick up. It’s the difference between a wardrobe full of “almost perfect” clothes and garments that fit you like they were made just for you. Plus, in a world where fast fashion is causing real environmental harm, being able to alter and extend the life of your clothes is a brilliant way to shop more sustainably.
In this guide, we’ll walk you through everything you need to know to get started with basic sewing alterations at home. From setting up your workspace and gathering the right tools to mastering simple techniques like hemming trousers and fixing broken zips, you’ll have all the knowledge you need to transform ill-fitting clothes into wardrobe favourites. Whether you’re completely new to sewing or just looking to brush up on the basics, this article has got you covered.
What Are Sewing Alterations? Understanding The Basics
Before we get stuck into the practical stuff, let’s clarify what we actually mean by sewing alterations. In simple terms, alterations involve modifying existing garments to improve their fit or appearance. This could mean shortening a skirt, taking in a waistband, or adjusting sleeve length.
The Difference Between Alterations And Repairs
It’s easy to mix up alterations with repairs, but they’re actually quite different. Repairs fix damage—think patching holes, replacing buttons, or mending torn seams. Alterations, on the other hand, change how a garment fits your body. Both skills are valuable, but alterations require a bit more precision since you’re essentially reshaping the clothing.
Common Types Of Clothing Alterations
The most frequent alterations include hemming (adjusting length), taking in or letting out seams (changing width), and adjusting waistbands. You might also shorten sleeves, replace zips, or reshape shoulders. Starting with simpler tasks like hemming builds your confidence before tackling trickier modifications.
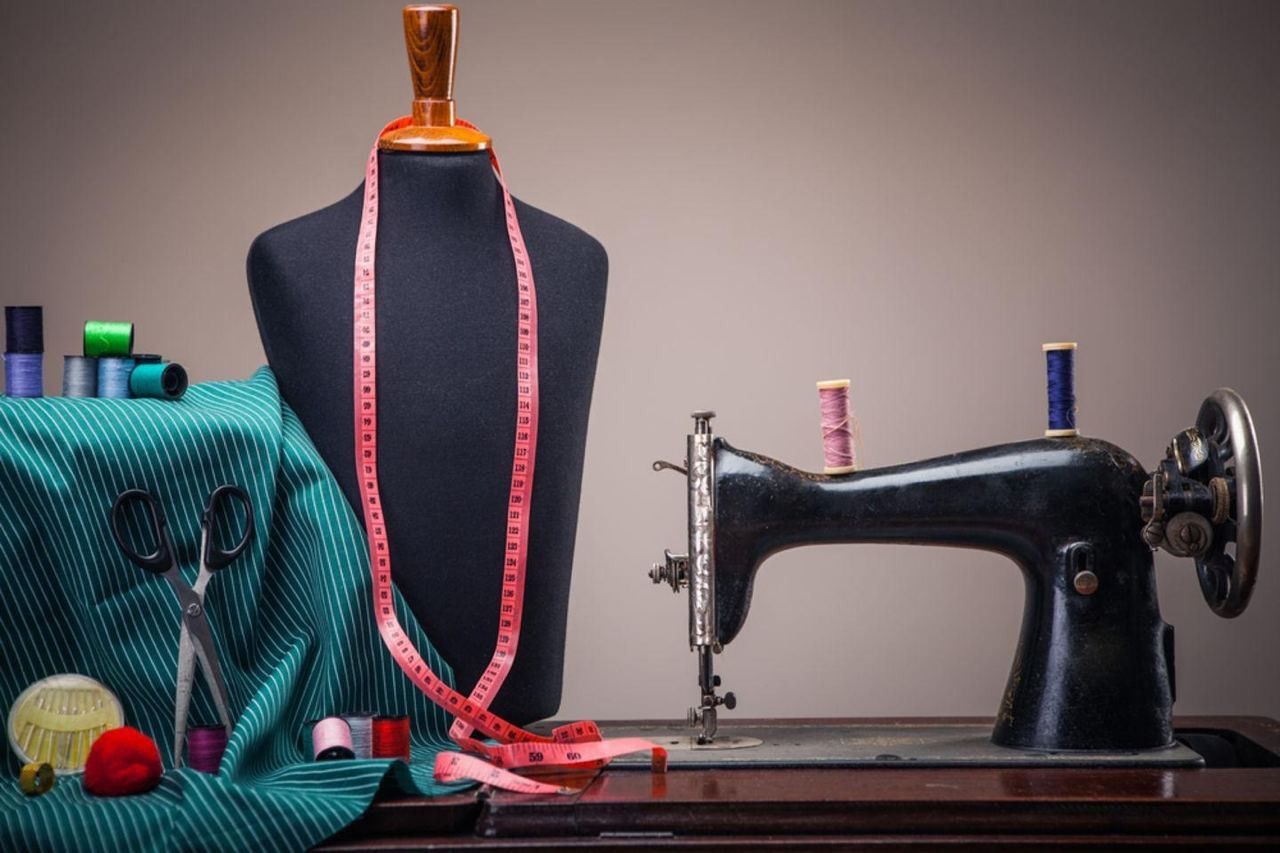
Essential Tools And Equipment For Beginner Alterations
Having the right gear makes all the difference when you’re learning sewing alterations. You don’t need to spend a fortune, but a few quality basics will serve you well.
Must-Have Sewing Supplies
Start with sharp fabric scissors (never use them on paper!), a seam ripper for unpicking mistakes, and plenty of pins. You’ll also need a flexible measuring tape, tailor’s chalk or fabric markers, and a selection of hand-sewing needles. Quality thread in neutral colours—black, white, navy, and beige—will cover most projects.
Do You Need A Sewing Machine For Basic Alterations?
Here’s some good news: you can absolutely tackle many basic alterations by hand. Hemming, simple repairs, and minor adjustments are all doable with just a needle and thread. That said, a basic sewing machine speeds things up considerably and creates stronger, more professional-looking stitches. If you’re planning to do alterations regularly, even an entry-level machine is a worthwhile investment.
Setting Up Your Alteration Workspace At Home
You don’t need a dedicated sewing room. A well-lit corner with a sturdy table works perfectly. Good lighting is crucial—natural daylight is best, but a bright lamp helps for evening sessions. Keep your supplies organised in a box or basket so everything’s within reach when inspiration strikes.
Easy Alterations Every Beginner Can Master
Now for the exciting part—actually doing alterations! These four techniques are perfect starting points for beginners.
How To Hem Trousers And Skirts
Hemming is probably the most useful alteration skill you’ll learn. Start by trying on the garment with the shoes you’ll wear, then mark the desired length with pins. Remove the garment, measure from the original hem to ensure evenness, and fold the fabric under. Press with an iron, then stitch either by hand using a blind hem stitch or by machine.
Taking In Or Letting Out Waistbands
Waistband adjustments are trickier but totally achievable. For taking in, try on the garment inside-out, pinch the excess fabric at the back seam, and mark it. Sew a new seam following your marks, then trim the excess. Letting out requires unpicking existing seams and re-sewing with a smaller seam allowance—just check there’s enough fabric hidden inside first.
Shortening Sleeves Like A Pro
Sleeve alterations follow similar principles to hemming. For simple sleeves, fold under to the desired length and stitch. Sleeves with cuffs or buttons are more complex—you might need to remove the cuff, shorten the sleeve, then reattach. Start with basic sleeves before attempting anything with detailed finishing.
How To Fix A Broken Zip
A broken zip doesn’t mean binning the garment. If the zip pull has come off, you can often reattach it using pliers. For a completely broken zip, use your seam ripper to carefully remove it, then pin and sew a replacement in place. Match the zip type and length to the original for best results.
Can You Teach Yourself Sewing Alterations?
Absolutely! Many skilled sewers are entirely self-taught. With patience and practice, you can definitely learn at home.
Free Resources And Online Tutorials
YouTube is genuinely brilliant for learning sewing techniques—you can watch someone demonstrate exactly what to do, pause, rewind, and follow along. Australian crafting blogs often offer free tutorials too. Start with simple projects and gradually build your skills.
When To Consider A Sewing Class
That said, in-person classes offer something videos can’t: immediate feedback. If you’re struggling with a particular technique or want to fast-track your learning, a local sewing class can be incredibly helpful. Many community centres and fabric shops across Australia offer beginner-friendly workshops.
Common Beginner Mistakes And How To Avoid Them
Everyone makes mistakes when learning—that’s part of the process! Common errors include cutting fabric before double-checking measurements, using the wrong thread weight for your fabric, and skipping the ironing step (pressing makes a huge difference to finish quality). Always practice on scrap fabric first and take your time.
When Should You Leave Alterations To A Professional Tailor?
Some alterations genuinely require professional expertise. Structured garments like blazers and suits involve complex construction that’s tricky for beginners. Delicate fabrics like silk or lace need specialist handling. Leather and formal wear with intricate details are also best left to the experts. There’s no shame in knowing your limits!
Your First Steps To Mastering Sewing Alterations
So there you have it—everything you need to begin your sewing alterations journey. We’ve covered the essential tools, measurement techniques, beginner-friendly alterations, and when to call in the professionals. The key takeaway? Start simple, practice regularly, and don’t be afraid of making mistakes.
The brilliant thing about learning alterations is that every project teaches you something new. That slightly wonky first hem? It’s a learning experience. That perfectly adjusted waistband? Proof that practice really does pay off. Each garment you alter builds your confidence and skills.
Why not start today? Dig out that pair of too-long trousers or that dress that’s been sitting unworn because it doesn’t quite fit. Grab your measuring tape, find a good tutorial, and give it a go. Your wardrobe—and your wallet—will thank you for it. Happy sewing!