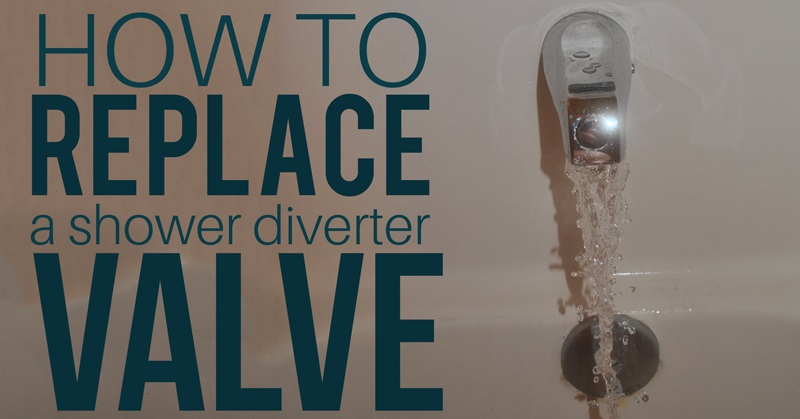
How To Replace A Shower Diverter Valve
It is impossible to enjoy a large shower without real devices. The most important part is proper regulation of the water at the right temperature. The shower valve constantly monitors the water pressure to deliver it to the right temperature you want.
We might not see the valves, but the processor keeps the shower system running smoothly. Helps control the pressure, temperature and volume of water. The shower valve ensures good water regulation and thermostatic control to avoid temperature differences which may harm you.
The market is full of promising products that offer durability, safety, etc. But the scenario may be different immediately after installing a random fault. Also, there are different types and you don’t know the best one for your needs.
What is a shower diverter?
In many older homes or in renovated bathrooms, it is common for the tub to double as a standing shower. When installing the shower, however, it would not be efficient to create a brand new water supply hose to feed the shower head. This is where a bypass valve comes in. Shower diverter also known as a diverter valve, it diverts the flow of water from the tub faucet to the shower head. Thus, a bypass valve allows you to have a shower and a bathtub in the same space.
How does a shower diverter work?
A shower diverter valve can take many different forms, but they all share the same purpose. The diverter may appear as a pin pulled up from the spout of the tub faucet , it may appear as a third faucet handle (middle), or it may be a button that needs to be pushed or pulled that sits right around the faucet himself. Operation of the device is simple – pulling the pin or handle engages a rubber stopper, causing the water to flow in a different direction. The action forces create the pressure the water towards the shower head and allowing you to enjoy a shower from inside a bathtub.
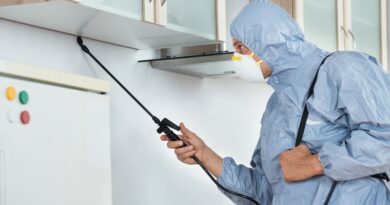
Replacing Shower Diverter:
The shower diverter valve diverts water from the tub faucet to the shower head. A common style of valve has a button located on the front of the faucet that you can pull out to engage the baffle, allowing water to be redirected. Over time, these valves fail. To replace a shower valve, it is easier to simply install a new faucet with a built in valve.
Step 1 – Remove the existing faucet
First you need to remove the existing faucet. There are several ways to attach your faucet.
Threaded taps in plumbing fittings:
Some are threaded directly into the plumbing fixtures on the wall. In this case, unscrew the entire faucet, just like unscrewing a lid from a pot. If you have trouble moving, insert a hammer handle into the mouth of the faucet and use the extra leverage to deform it.
Valves attached to the piping:
The other faucets are attached to the piping using set screws at the base of the faucet near the wall. In this case, use an Allen key or a screwdriver of the appropriate size to loosen the screw. Then take out the faucet.
Step 2 – Buy a new faucet
Take the old faucet from a plumbing supply store or home improvement center, and find a new one that matches. You can change the appearance of the faucet, as long as the way it is connected to the existing piping is the same as the original part. Make sure the replacement includes a shower-diverter valve.
Step 3 – Install the replacement faucet
If the faucet is in place, wrap the wires with plumber’s tape, then screw on the faucet by hand to position it correctly. If the faucet has a set screw, slide it over the pipe and screw it in with the screwdriver.
Step 4 – Test your new reversing valve
Test the shower by turning it on and off and watching if the reversing valve stays in place. Make sure it doesn’t leak while the shower is on. If not, you installed it correctly. If it is leaking, fix the valve keeping some important mistakes in mind, such as turning off the water first.